Increasing print speed without sacrificing quality is not a simple matter of raising machine settings. It requires a controlled production system, accurate materials, and operators who understand where defects begin. Benny Landa, founder of Landa Digital Printing, once said, “Everything that can be digital, will be digital.” His observation reflects a major industry shift toward digital workflows, where faster output can be matched with variable data, automated calibration, and consistent color control.
This guide examines how to increase printing speed without losing quality across commercial, packaging, and high-volume production environments. It considers practical details, including substrate moisture, ink or toner coverage, drying time, printhead alignment, and finishing capacity. A printer may run at a higher rated speed, yet the real bottleneck could be curing, trimming, or inspection. Faster is not always better. Sometimes, it only creates more waste.
Experienced teams measure more than pages per minute. They monitor registration, density, color variation, rejected sheets, and reprint rates. A clean nozzle check can prevent hours of avoidable downtime. A calibrated RIP can reduce repeated adjustments. Even a small reduction in ink saturation may improve drying, but it can also weaken image depth. That trade-off deserves testing.
The strongest results usually come from short trials, documented settings, and regular maintenance. Not guesswork. This article introduces reliable methods for improving throughput while protecting sharp text, smooth gradients, accurate colors, and customer expectations. Some recommendations may need adjustment. Every press, material, and production environment behaves differently.
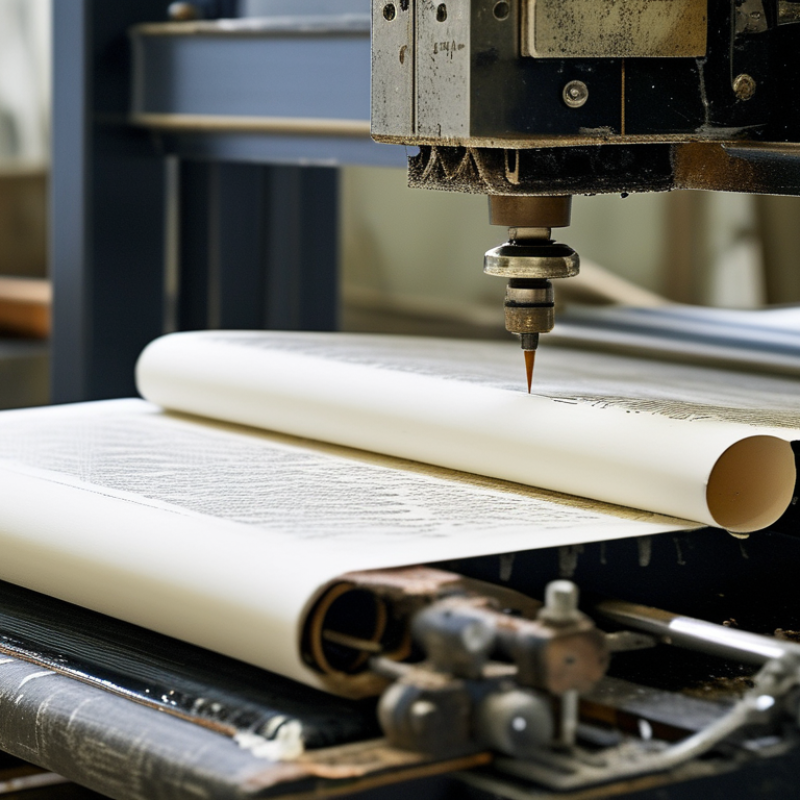
Printing faster without losing quality depends on controlling a few connected factors. Press speed matters, but it is not the only variable. File resolution, color settings, ink viscosity, and substrate absorbency can change the final result. A highly absorbent paper may allow quick drying, yet it can soften fine text and reduce color contrast. Coated materials usually preserve detail better, but they may require more drying time.
During production testing, operators should compare speed, ink coverage, and registration accuracy together. Increasing speed too aggressively can create banding, blurred edges, or uneven solid areas. Drying temperature and airflow also affect output stability. Excessive heat may curl the material, while weak airflow can cause smearing during stacking. A clean printhead, accurate calibration, and consistent material tension often improve quality more than simply slowing the machine.
The working environment deserves attention. Temperature, humidity, and dust can influence ink flow and paper movement. Small changes matter. Preflight checks should confirm image resolution, bleed, color profiles, and font handling before printing. I have seen rushed files waste more time than careful setup saves. That assumption is easy to miss. Test sheets remain useful, although they add a small cost and may not represent every production condition. Skilled operators still need to inspect results under normal lighting, not only on a bright screen.
Fast printing begins before the file reaches the press. Smithers’ The Future of Digital Print to 2028 estimates that digital print value will grow from about $136.7 billion in 2023 to $187.7 billion by 2028. That growth increases pressure on prepress teams. A clean production file helps meet it.
Export a press-ready PDF using PDF/X standards, and embed every font. Use CMYK or the printer’s approved color profile. Keep images near final size at 300 ppi. Higher resolution rarely improves normal commercial output. It often creates heavier files and slower RIP processing. Add the required bleed, usually 3 mm, and remove hidden layers, unused swatches, and oversized image data. Transparency should be checked, not blindly flattened. Small details matter.
Run a preflight check before uploading. Check page size, trim marks, overprints, spot colors, and missing links. The Ghent Workgroup’s specifications are widely used as practical references for these checks. A 2023 Keypoint Intelligence analysis also highlights workflow automation as a major productivity driver in digital print operations. Automation helps, but it is not magic. I have seen “optimized” PDFs still fail because a black text object used four-color registration. Print one proof page, inspect hairlines and small type, then release the final file. Faster processing is useful. Rework is not.
| No. | File Preparation Dimension | Recommended Standard | How It Speeds Up Processing | Quality Protection | Preflight Check |
|---|---|---|---|---|---|
| 1 | Use a print-ready PDF | Export a standards-compliant PDF instead of sending editable source files. | Reduces file conversion, relinking, and version-checking work. | Preserves page size, layout, fonts, images, and placed graphics in one package. | Confirm that all pages open correctly and the page count is complete. |
| 2 | Set the correct image resolution | Use approximately 300 ppi at final output size for standard continuous-tone images. | Avoids oversized images that increase upload, RIP, and rendering time. | Maintains sharp detail for most brochures, packaging, posters, and commercial print work. | Check effective resolution, not only the image's original resolution. |
| 3 | Convert color correctly | Use the required CMYK profile for process printing; use spot colors only when specified. | Prevents late color conversion and repeated proofing during production. | Provides more predictable separations and reduces unexpected color shifts. | Verify color space, embedded profiles, and total ink coverage according to the printer's limits. |
| 4 | Include bleed and safe margins | Add the printer's required bleed; 3 mm is a common starting point for many trimmed jobs. | Prevents production pauses caused by missing trim allowance or incorrect page geometry. | Allows minor cutting variation without exposing unprinted edges. | Confirm document size, trim box, bleed box, and safe area. |
| 5 | Embed or outline fonts | Embed all fonts in the PDF, or outline display text when the workflow requires it. | Avoids font substitution, missing-font alerts, and manual repair. | Keeps text appearance, spacing, and line breaks consistent across systems. | Inspect the PDF font list and confirm that fonts are embedded or intentionally converted. |
| 6 | Minimize unnecessary transparency effects | Use transparency deliberately and export with a modern PDF workflow when supported. | Reduces complex flattening, rasterization, and RIP calculations. | Preserves smooth blends, shadows, and overlays when the output workflow supports them. | Review overprints, knockouts, shadows, and transparent objects in a separation preview. |
| 7 | Keep vector artwork as vector | Retain logos, line art, barcodes, and geometric graphics as vector objects. | Keeps files efficient and avoids processing large raster replacements. | Maintains crisp edges at different output sizes and viewing distances. | Zoom in on fine lines, small text, and barcodes before final export. |
| 8 | Compress images appropriately | Use lossless compression for line art and high-quality compression for photographs; avoid repeated recompression. | Reduces file transfer and storage size without adding unnecessary processing complexity. | Protects detail, edges, and tonal transitions from visible compression artifacts. | Inspect shadows, gradients, skin tones, and fine textures at 100% view. |
| 9 | Remove unused content | Delete hidden layers, unused swatches, extra pages, duplicate images, and off-canvas objects. | Lowers file size and reduces the number of objects that must be interpreted by the RIP. | Prevents accidental output of hidden or obsolete design elements. | Use a final layer, object, and page audit before exporting the PDF. |
| 10 | Run a final preflight | Check dimensions, resolution, color, bleed, fonts, overprint, separations, and missing links. | Finds errors before submission, avoiding reprocessing and production delays. | Confirms that the final file matches the approved design and print specifications. | Open the exported PDF, inspect separations, and compare it with the approved proof. |
China Top 10: How to Print Faster Without Losing Quality?
Fast printing begins with the right settings, not the highest quality option. For everyday documents, select Standard or Normal mode and use the recommended resolution. High-resolution mode often adds time without improving small text. I learned this after watching a short report take several minutes. The difference was barely visible.
Paper changes the result more than many users expect. Choose smooth, properly sized paper for text and simple graphics. Use coated paper for detailed images, but allow extra drying time. A damp sheet can smear when stacked too quickly. Keep paper sealed in a dry cabinet. Bent corners can cause feeding errors and repeated prints.
Ink selection should match the paper and the print task. Use compatible ink with consistent color output, and avoid mixing unfamiliar formulas in one job. Before a large batch, print a small test page with black text, skin tones, and fine lines. Check the edges under normal light. My own test pages are not always perfect, especially with dark images. That is useful feedback. Adjust color density slightly, reduce unnecessary coverage, and compare again. Duplex printing can save paper, but slower drying may require a longer pause between sides. Small adjustments matter.
Fast printing begins with equipment correctly matched to the job. Check nozzle condition, printhead alignment, drying capacity, and material compatibility before increasing speed. A higher speed setting cannot repair weak calibration. In a production room, I record test results at several speed levels. The best setting is usually not the fastest one. It is where detail, color density, and drying remain stable. Keep a small reference sample beside the machine. It exposes drift quickly.
Workflow design often saves more time than aggressive machine settings. Group similar materials and sizes to reduce cleaning, loading, and setup changes. Prepare files with consistent dimensions, profiles, and resolution before they reach the operator. Use a simple job sheet showing order, quantity, settings, and inspection points. This prevents repeated questions during busy shifts. Leave space for a manual check. Automation helps, but rushed approvals can create larger delays later. I have seen one missing file detail stop an otherwise efficient afternoon.
Maintenance should follow measured use, not memory. Clean critical parts at scheduled intervals, inspect belts and rollers, and remove dust from ventilation paths. Track ink, energy, waste, stoppages, and reprints in one log. These figures reveal whether faster output is genuinely productive. Replace worn components before defects spread across a full batch. Still, maintenance plans need review. A schedule that looks perfect on paper may not fit seasonal workloads or local humidity. Adjust it after evidence, not guesswork, and document every change.
Fast printing is not only about increasing machine speed. Quality depends on what happens after each batch leaves the printer. Inspect the first few sheets under bright, neutral light. Check sharp edges, small text, color balance, surface marks, and alignment. A handheld magnifier can reveal problems before they spread across hundreds of sheets.
Tips: Record the paper type, ink settings, temperature, speed, and drying time. Compare approved samples beside fresh output. If color shifts, slow the process slightly and adjust one setting at a time. Never change several variables together. The cause becomes difficult to identify.
Experienced operators also inspect output during production, not only at the end. Watch for gradual color drift, uneven coverage, curling edges, or faint scratches. Keep a simple inspection log with photos and measured results.
A sample may look acceptable in the workshop but fail under retail lighting. That happened to us once. We corrected the lighting check, but the original process still needed improvement.
Fine-tuning should be based on evidence, not instinct. Small adjustments often produce more consistent results than maximum speed.
Choose Standard or Normal mode for routine text and simple graphics. High-resolution mode often adds time without improving small text. Small changes matter.
Use smooth, correctly sized paper for text and basic graphics. Coated paper suits detailed images but may need longer drying time. Bent corners can cause feeding errors.
Keep paper sealed in a dry cabinet. Moisture can cause smearing, curling, or uneven feeding. Dry storage helps.
Match the ink to the paper and print task. Avoid mixing unfamiliar formulas during one job. Color consistency may still vary.
Print a small page with black text, skin tones, and fine lines. Check edges under normal lighting. My test pages are not always perfect.
Check nozzle condition, printhead alignment, drying capacity, and material compatibility. The fastest setting is rarely the best setting. Stable detail matters more.
Group similar materials and sizes together. Prepare files with consistent dimensions, profiles, and resolution. A simple job sheet can prevent repeated questions.
Clean critical parts on a measured schedule, and inspect rollers and belts. Track ink, energy, waste, stoppages, and reprints. Inspect early sheets under bright, neutral light. One missed detail can delay an afternoon.
This guide explains how to increase printing speed without losing quality by focusing on the factors that influence both performance and final results. It examines how file complexity, image resolution, color settings, paper type, ink compatibility, and printer condition can affect production time and output consistency. Preparing clean, properly formatted files and using suitable settings can reduce processing delays while preserving sharp details and accurate colors.
The article also presents practical ways to improve equipment efficiency, organize the workflow, and maintain key components through regular inspections and cleaning. Choosing the right combination of printer settings, paper, and ink helps prevent defects and unnecessary reprints. Finally, checking printed samples and fine-tuning the process allows users to identify problems early, maintain consistent output, and achieve a more efficient balance between speed, quality, and resource use.

Fusion Digital Print