Screen printing can look simple from a distance. A mesh screen, a squeegee, and a layer of ink seem easy to control. Yet small mistakes can create serious defects. A blurred edge, pinhole, uneven coverage, or cracked print may begin with one overlooked detail.
So, what are common problems in screen printing? They include poor registration, incorrect ink viscosity, blocked mesh, underexposure, excessive squeegee pressure, and weak curing. Each problem leaves visible evidence. You might see a shadow beside the artwork, feel a rough ink surface, or notice fading after the first wash. These signs are useful clues, not just production failures.
Scott Fresener, a respected screen-printing educator and author, said, “Screen printing is a combination of art, science, and craftsmanship.” That balance matters. Experience helps, but experience alone does not prevent every mistake. Even skilled printers sometimes blame the ink when the real issue is screen tension or flash-drying temperature. I have seen troubleshooting guides make the process sound more predictable than it is. It is not.
This guide, “10 Best Ways to Fix Common Screen Printing Problems,” examines practical solutions for the pressroom. It connects visible defects with likely causes and realistic corrections. You will find advice about artwork preparation, screen exposure, registration, ink control, curing, and equipment maintenance. Some fixes require patience. Others require admitting that the setup was wrong from the beginning. That is uncomfortable, but useful. Better prints usually start with better questions.
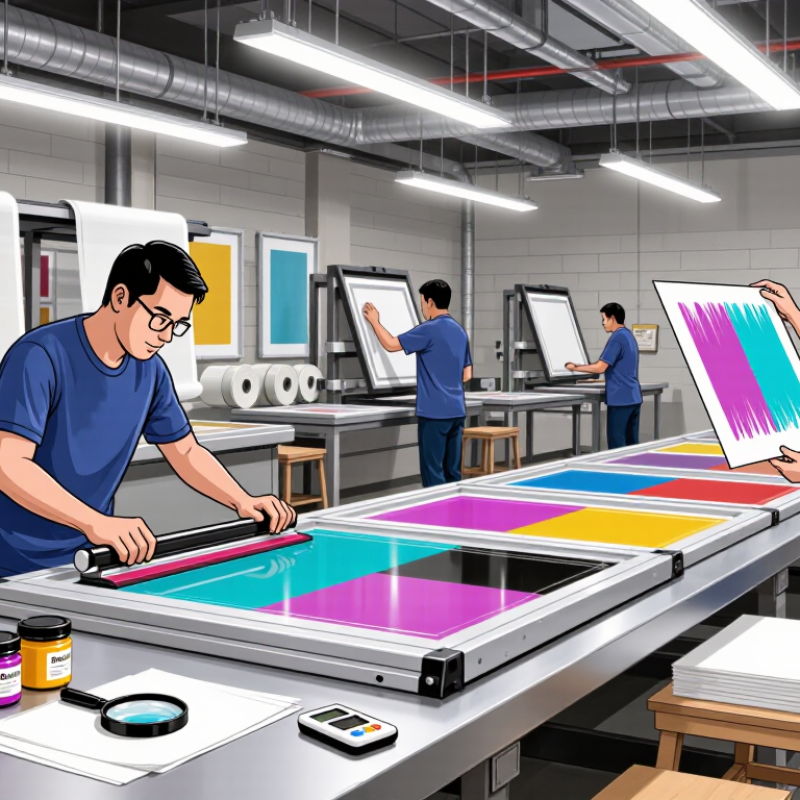
Screen-printing defects often look alike, but their causes can differ. A pale print may come from low ink deposit, a clogged mesh, or poor stencil exposure. Start by noting exactly when the flaw appears and where it sits on the print. Check whether it repeats in the same spot across several shirts. A recurring mark often points to the screen or setup; an inconsistent one may involve ink flow or printing technique. Change one setting at a time, or the real cause can remain unclear.
Tips: Inspect the mesh under good light. Check stencil edges, screen tension, and off-contact distance. Then test ink consistency and squeegee pressure on scrap material. Keep brief notes. Small changes matter.
For smudged edges, inspect registration and screen movement before adjusting the artwork. For pinholes, look for dust, damaged emulsion, or incomplete coating. If ink dries in the mesh, review the room conditions and printing pace. A quick adjustment may improve one print but hide a deeper setup issue. It is tempting to blame the ink immediately; that assumption deserves a second look. Test a small run after each correction, and confirm the result after the screen has printed several times.
| No. | Common Problem | Visible Symptoms | Likely Root Cause | Recommended Fix | Process Check |
|---|---|---|---|---|---|
| 1 | Ink Bleeding | Edges spread into the fabric, fine details become soft, and the print appears larger than the artwork. | Excessive ink deposit, low ink viscosity, excessive squeegee pressure, or unsuitable fabric absorbency. | Reduce ink deposit, use the correct ink viscosity, lower squeegee pressure, and select a suitable mesh count for the design. | Compare the printed dimensions with the artwork and inspect fine lines under consistent lighting. |
| 2 | Pinholes in the Stencil | Small unwanted dots or ink spots appear in open areas of the print. | Dust, grease, foam, coating imperfections, or incomplete degreasing before stencil coating. | Clean and degrease the mesh thoroughly, control dust in the coating area, and block minor defects with screen blockout. | Hold the screen toward a light source before printing and check for isolated transparent dots. |
| 3 | Uneven Ink Coverage | The print contains streaks, thin patches, inconsistent opacity, or visible squeegee trails. | Uneven squeegee pressure, incorrect blade angle, insufficient flood stroke, damaged mesh, or inconsistent ink distribution. | Maintain consistent pressure and angle, flood the screen evenly, replace damaged mesh, and mix ink uniformly. | Run a test print and inspect coverage from the leading edge to the trailing edge of the image. |
| 4 | Misregistration | Colors do not align, outlines appear doubled, or gaps are visible between color layers. | Incorrect screen positioning, unstable substrate placement, frame movement, or insufficient registration control. | Use registration marks, secure the substrate, verify screen alignment, and allow adequate flash or drying between layers. | Print a registration test and measure alignment at several points across the image. |
| 5 | Poor Ink Adhesion | The print scratches, flakes, cracks, or can be removed from the surface after curing. | Incorrect ink for the substrate, contamination, inadequate curing, or insufficient surface preparation. | Confirm ink compatibility, clean the substrate, follow the required curing profile, and avoid over-thinning the ink. | Perform a controlled scratch or adhesion test only after the print has fully cured. |
| 6 | Ink Clogging the Screen | Open areas close during production, causing missing details and reduced ink flow. | Ink drying in the mesh, excessive heat, low humidity, long pauses, or an unsuitable solvent balance. | Keep the screen flooded during pauses, reduce unnecessary heat, use the appropriate reducer, and clean the screen promptly. | Monitor open mesh areas during the run and record the time between print strokes. |
| 7 | Ghost Images or Smudging | A faint duplicate image or blurred shadow appears beside the intended design. | Substrate movement, excessive off-contact, unstable pallets, screen flexing, or print-head vibration. | Secure the substrate, stabilize the press, adjust off-contact, and ensure the screen lifts cleanly after the stroke. | Inspect the pallet, hinges, clamps, and screen movement while making a slow test stroke. |
| 8 | Underexposed Stencil | Stencil edges wash out, details break down, or the emulsion peels during cleaning and printing. | Insufficient exposure energy, incorrect exposure time, wet emulsion, or inconsistent coating thickness. | Dry the coated screen completely, calibrate exposure time, and maintain consistent emulsion thickness. | Use an exposure test pattern and verify that the stencil withstands washout without soft edges. |
| 9 | Overexposed Stencil | Fine details fail to wash out, small openings close, and the printed design loses sharpness. | Excessive exposure energy, overly long exposure time, or an underpowered washout process. | Reduce exposure gradually, improve film-to-screen contact, and use controlled washout pressure for fine details. | Compare the washed-out stencil with the original artwork using a magnifier or inspection light. |
| 10 | Poor Washout or Blocked Details | The stencil does not open fully, especially in small text, thin lines, or high-detail areas. | Insufficient washout time, weak water pressure, dried emulsion residue, or film and artwork density problems. | Use adequate washout pressure, thoroughly wet both sides of the screen, improve film opacity, and remove residue before drying. | Inspect every fine-detail area against the artwork before applying blockout or starting production. |
Note: Always confirm the ink manufacturer's technical requirements, substrate compatibility, exposure conditions, and curing specifications before making production changes.
Check for clogged mesh, low ink deposit, and weak stencil exposure. Inspect the screen under bright light. Change one setting at a time.
The screen or setup may be causing it. Check stencil edges, screen tension, and off-contact distance. Look closely.
Check registration and screen movement before changing the artwork. Excess ink, weak flash drying, or careless stacking may also cause smudges.
Look for dust, damaged emulsion, or incomplete coating. A few tiny marks can still point to a larger preparation issue.
Check mesh count, ink viscosity, underbase opacity, and cure temperature. A thicker ink deposit is not always better. It can crack or smear.
Print a small run on scrap material, then check several garments. Inspect the first and last prints for color, edges, and registration. Rushed tests can mislead.
Inspect screen tension, mesh condition, squeegee edges, and platen alignment. Clean dried ink near the frame. A nicked blade may leave streaks.
Note ink batch, room conditions, cure settings, and test results. Keep the log accessible. It does not need to be perfect. Review recurring faults with the operator.
Understanding what are common problems in screen printing is the first step toward producing clean, consistent results. Start by identifying the source of each defect rather than changing several settings at once. Review ink condition and consistency, choose mesh that suits the design and material, and select a squeegee with an appropriate edge and firmness. These choices can help prevent uneven prints, smudging, and weak or incomplete ink coverage.
For more reliable prints, check screen alignment and registration before running a full job, and follow the ink’s curing requirements to help prevent fading, cracking, or transfer issues. Inspect artwork and screens for blocked mesh, damaged areas, or unwanted marks that may create image defects. Routine equipment cleaning, screen maintenance, and careful quality checks throughout production can catch small problems early and reduce waste.

 Fusion Digital Print